Celebrating Queen’s Day in Amsterdam with a pavlova!
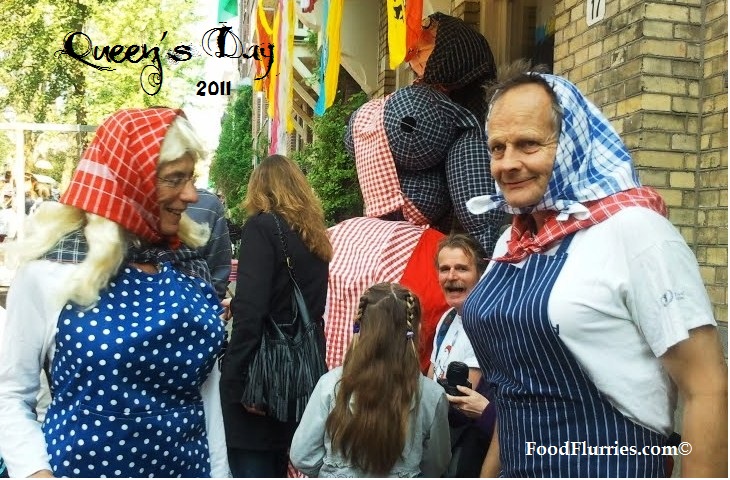
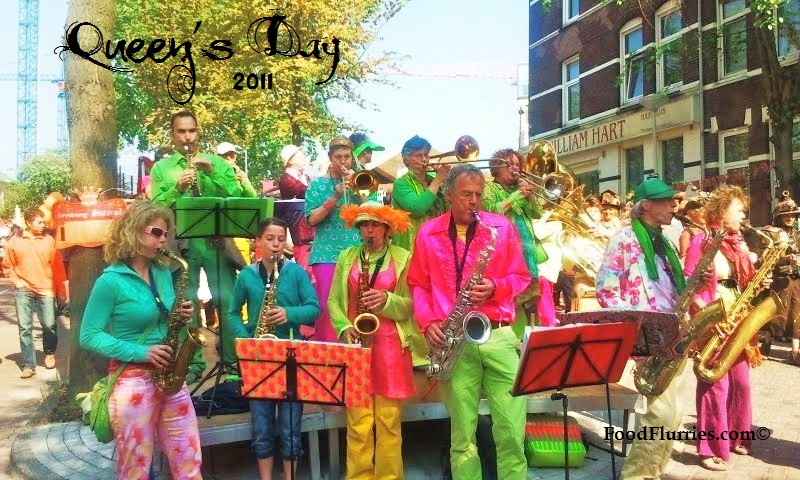
It’s Queen’s Day here everybody and it’s probably a madhouse in the city right now. Every year Queen’s Day ~ or Koninginnedag ~ is celebrated with street parties, markets and much merriment. It is the only time of year where people can sell their wares without a license of trade, so tables are set out in the streets (most major streets are closed off) and people sell everything from clothes, to food, drinks, antiques, hair accessories … etc. Parades and brass bands march up and down entertaining the crowds, men traditionally dress as women, and there is much Dutch pride in the air. It’s all a bit crazy and you can walk entire city blocks and there seems to be no end to the festivities. The entire city center and the outer suburbs take on the effect of a citywide carnival. Trams and bus routes are re-routed to create a safe space for pedestrians. The official colour is Orange … and you’ll see people walking around dressed head to toe in bright Orange with girls sporting bright orange silk flowers in their hair; even desserts and pies are topped with orange icing. That is the Dutch spirit of “Oranje’.
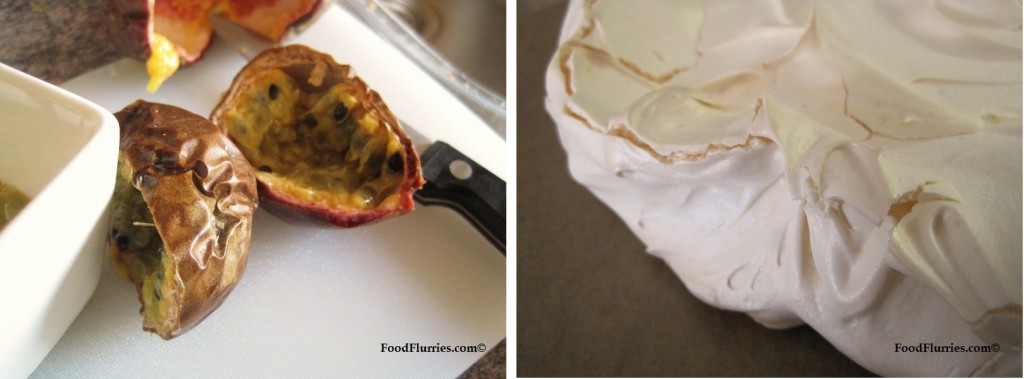
Am not attending the Queen’s Day festivities this year as I have finally agreed to bake a pavlova for R, who has been pestering me to make one for the past two weekends. He even went so far as to buy the passionfruits and he even made a big deal about them costing him € 0.85 each. In case you are wondering what on earth is a PAVLOVA, it is a classic meringue dessert topped with luscious whipped cream and summery fruit and berries, commonly found in the land Down Under.
Historically, there’s been a bit of a long standing dispute between the Aussies and the nextdoor neighbours, the Kiwis (New Zealanders), as to who came up with the original recipe in the first place. Both sides lay claim to it and I don’t believe it has ever been fully resolved. According to Wikipedia formal investigations and research name the Kiwis as the rightful owner tho. The name ‘Pavlova’ comes from Anna Pavlova, a Russian ballet dancer who toured both Australia and New Zealand back in the 1920’s and the dessert was created in her honour. It has been claimed the dessert is made from fluffy meringues to represent the floatiness of her tutu.
Meringue Base :
- 100 – 110 g egg white
- 100 g caster sugar
- 100 g powdered sugar
- 3 tsps cornstarch
- 2 tsps white vinegar
- 2 tsps clear vanilla extract
What I have learnt about working with meringue (after encountering a few unfortunate incidences myself) is that if you get the basics right at the beginning, you will not encounter problems with your finished product. First cardinal rule is to make sure all surfaces that is going to come into contact with the meringue is free of fat and grease. That means EVERYTHING … Spatulas, whisks, mixing bowl, measuring spoons. When separating the eggs make sure not even a nano drop of egg yolk enters the bowl with the whites. If there is fat in your egg whites, and this includes yolk, your egg whites will not fluff up.
Making a pavlova base is similar to making meringue, but with the added difference that a pavlova is not baked as long and this allows it to retain a gooey marshmallow center. A meringue is baked through and is dry and crispy. Adding cornstarch and the vinegar helps the pavlova achieve a crusty outer shell. I started my meringue base the night before.
1. So in go the egg whites, which is approximately whites from 4 large eggs … into a mixing bowl. I actually measured the volume using a weighing scale because this is my first time making a pavlova, and I didn’t want to mess it up. If you are separating the eggs by hand make sure your hands are grease free.
2. Turn the mixer on medium to break up the eggs then work your way up to high. Keep the mixer going until you achieve soft peaks. It is important to not over whisk the egg whites here so once the whites have doubled in volume and have soft peaks, S.T.O.P!
3. Now its time to add the caster sugar with the mixer back on high. Add the sugar in a slow drizzle or one tablespoon at a time. Keep going until the mixture has gotten glossy and all the sugar granules have totally dissolved. To test this, take a dab of meringue and smear it in between your index finger and thumb … it should be completely smooth with not a hint of sugary grit.
4. Mix 3 tsps of cornstarch, 2 tsps standard household white vinegar and vanilla extract in a bowl. Drizzle this mixture into the meringue mixture with the machine running on high to incorporate thoroughly.
5. At this point your meringue mix should be super stiff and glossy. Stop the machine and whisk in the sifted powder sugar by hand. The powder sugar will give the mix a nice marshmallow texture. I also whisked in 2 sachets of powdered vanilla sugar for added flavour, but its optional.
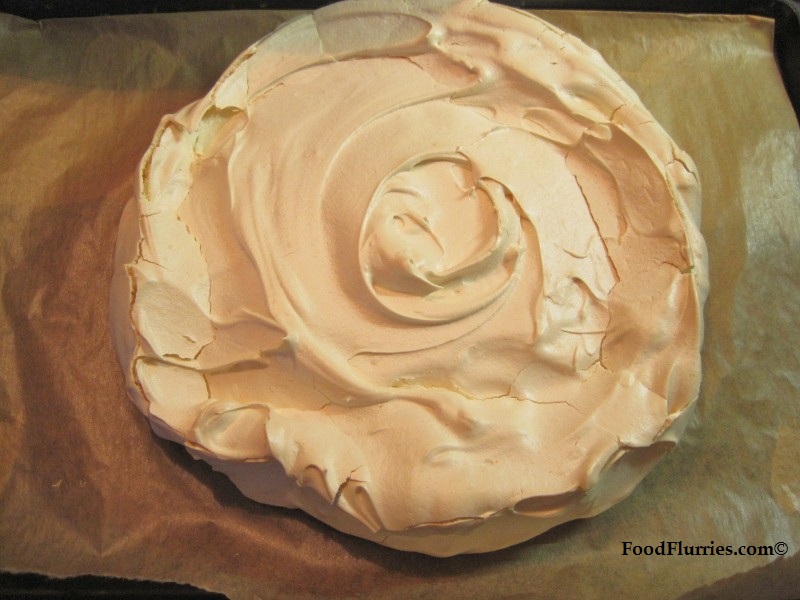
6. Scrape out the meringue onto your wax paper and shape it into the shape you desire, but basically it is piled pretty high with a circular base. I used a standard dinner plate as a guide.
7. Place in the hot oven for approx 10 mins then reduce the heat to 110ºC and leave it to bake for another hour. After the hour is up, turn off the heat and leave the pavlova to cool completely in the oven with the door shut. If you take it out too soon you risk it collapsing in the middle or deflating completely. Some cracks are to be expected, so don’t panic if yours has a few. You have now accomplished the hard part. Only thing left now is topping.
Toppings can be a wide variety of things, but the more common ones are listed below.
Toppings :
- Chantilly Cream
- Kiwi fruit
- Mangoes
- Pomegranate seeds
- Passionfruit pulp
- Forest Berries
- Chocolate sauce
- Chocolate shavings
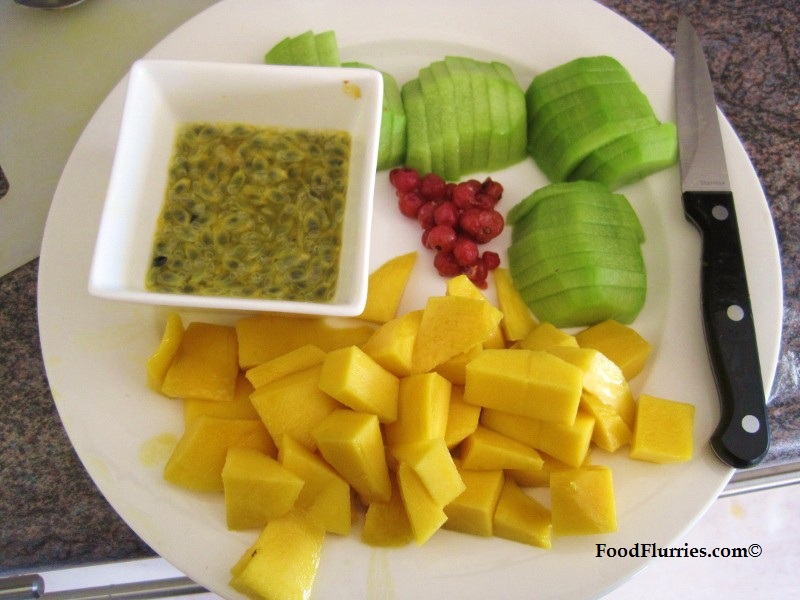
Use brightly coloured fruit to dress your pavlova. Here I am sticking with what's traditional : Mangoes, passionfruit pulp and kiwi fruit.
It is suggested that you top your pav just before serving to avoid it becoming soggy. Whip up some cream that has at least 35% – 45% fat to soft peak consistancy. Do not over whip the cream as it will turn into butter. Add some sugar if so desired. I tend to stick to pure cream as the pavlova is plenty sweet on its own. Place dollops on the top of the pavlova. Slice the fruit of your choice and place on top of the cream. Dust with a hint of powdered sugar. Serve immediately.
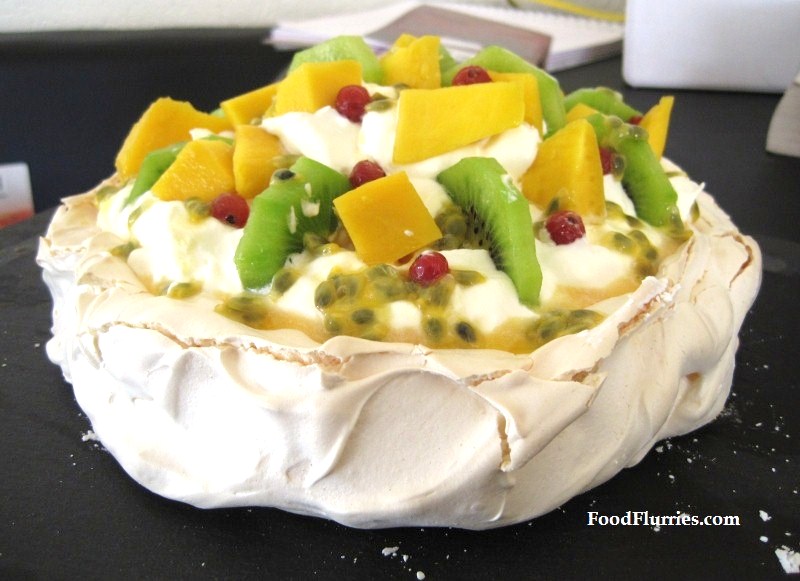
My pavlova came out brilliantly for a first try. I am well pleased with the result. And today of all days happens to be bright and sunny, after days of miserable cold and rain ~ a perfect day for a pavlova! I cooled the base in the oven and kept in overnight (uncovered) in there. This morning all I needed to do was slice the fruit and whip the cream. Took about 20 mins. R was actually still in bed at the time but when I showed him my finished product he was up and vibrant in a flash. Needless to say he ate the pav for breakfast. Sigh. Oh well, he could eat worse things for breakfast I suppose. The shel was nice and crispy, the inside was still soft and mushy. The tartness of the kiwi and passionfruit balanced out the sweetness of the meringue, and the cream pulled everything together. Perfect!
Oh! And what do you do with all those egg yolks that you are left with? Why … make a pot of vanilla custard or lemon curd, of course!
Anyway, I hope you have all enjoyed this article as much as I have enjoyed making my first pavlova a reality. A big nod to the folks Down Under for bringing such a wonderful dessert into being, and to R for pestering me for it. I really should make more Aussie favourites and write about them here. I already have a list of things to make but what’s a few more, eh? Well here is me signing off, wishing all my Dutch readers a happy ‘Koninginnedag 2012‘ … and party on!!
~ ENJOY ~




6 comments
1 ping
Skip to comment form ↓
Sarah Volpe
May 2, 2012 at 5:40 am (UTC 1) Link to this comment
Viv, this looks absolutely amazing. I love pavlova but have never made it at home either. I am currently living in Thailand and the fruit is amazing here, can I make the pavlova without an oven somehow? I only have hobs.
bubviv
May 2, 2012 at 8:19 am (UTC 1) Link to this comment
Hello Sarah. I don’t know if you can make this without an oven. An oven is needed to dry out the outer layer of the meringue to form the shell strong enough to support the weight of the fruit and cream. You will also require electric beaters to whip up the egg whites. 🙁
Natalie
May 8, 2012 at 1:17 pm (UTC 1) Link to this comment
I’m struggling to describe how badly I want to eat that picture. I imagine licking my screen won’t produce the desired effect, but gosh it’s tempting…
bubviv
May 8, 2012 at 1:36 pm (UTC 1) Link to this comment
I believe one Summers day (if it ever arrives in the Netherlands) I need to bring these babies into the office. I don’t hv the stomach for them much, but perhaps in small doses they can be a treat. T
Nish
May 10, 2012 at 10:43 am (UTC 1) Link to this comment
What a beautiful pavlova! Bet it would be a stunning centerpiece for a dinner party! Loving the combo of kiwis and passion fruit with the sweet meringue base!
bubviv
May 10, 2012 at 12:21 pm (UTC 1) Link to this comment
Tart fruit flavours to counter balance the sweetness of the meringue. Next am gonna try out a chocolate version. Thx for stopping by my blog. xx
The Maltese Muffin. » Food Flurries
September 4, 2012 at 9:23 am (UTC 1) Link to this comment
[…] Greetings all and welcome to a very special dessert post ~ it’s called the Maltese Muffin, courtesy of none other than Mr Alton Brown. I discovered these by total accident as I happened to be browsing thru some reruns of his Good Eats programme on the web. Initially I thought that it was going to be just an ordinary muffin but lo and behold … it came out more like a chocolate lava pudding than anything else. Now, chocolate puddings have got to be the BOMB! when it comes to dessert. I’m sure my boyfriend R would agree most heartily. If he could have chocolate lava pudding for breakfast, lunch and dinner, he would. He’s quite capable of doing so, as he proved a couple of months ago when I made a pavlova. […]