
Over the years I have seen many an instructional video on how to construct your very own black forest cake, but I never really got around to making one for myself. Today I finally got the opportunity to do so coz a friend pointedly said she’d like one. We don’t get many cake cakes here in the Netherlands, sadly enough. They do nice tarts, cream buns and marzipan stuff … but seriously, that’s not cake now is it?
So this is a mission to prove something to myself … that I can indeed make a decent black forest cake, as good as any I have had in my childhood. I am a child of the 80’s – 90’s era where black forests were all the rage. Just walk into any bakery or hotel and you can be sure this cake would be on display. When I first had my very first slice I thought I had died and gone to heaven. I believe that was my first experience eating a continental, cream filled cake. I have always disliked excessive icing on cake, but this cake was slathered in fresh cream instead. It made all the difference. To this day I’d happily opt for a slice of this over any other cake on offer. Unless there is cheesecake also on offer, then that would be a hard call.
Step one: Make chocolate genoise.
I used a recipe inspired by Michel Roux. Looks simple enough on paper, but I found out that making a proper genoise takes skill and the right technique. Definitely a challenge.
– 4 egg yolks
– 5 egg whites
– 140 g powdered sugar
– 1 tsp vanilla extract
– 50 g unsweetened cocoa powder
– 100 g all purpose flour
– pinch of salt
1. In a clean mixing bowl whip up the egg whites with 100 g of sugar until stiff peaks form.
2. In another bowl whip up the egg yolks with the 40 g of sugar until pale and glossy.
3. In yet another bowl, sift together the salt, cocoa powder and flour.
4. Now comes the tricky part ~~ mixing the two egg mixes together. The eggs whites get mixed in with the egg yolk mixture in three additions. The first addition can be whisked in to lighten the egg yolks, but the other two additions need to be folded in with a wide spoon or spatula. Use wide strokes to avoid losing too much air.
5. Now sift in the dry ingredients in two additions. Again use wide folding strokes until no streaks remain. The mixture should resemble chocolate mousse.
6. Tip out the mixture into two shallow sponge tins that have been prepared accordingly. Each tin needs to be greased and the bottom covered with parchment paper. Now grease the top surface of the parchment paper (use butter or non-stick spray) and lightly dust with flour. Shake off the excess and you are ready to go.
7. Bake the sponges for about 10 – 12 mins at 170°C, or until a toothpick inserted in the center comes out clean. Turn the sponges out onto a flat board and peel off the parchment paper. Allow to cool completely and leave overnight to dry out slightly.
Step two : Assembly
1. Start with the two sponge cakes you baked the day before. You’ll need a flat surface to work on as well as an icing turn-table.

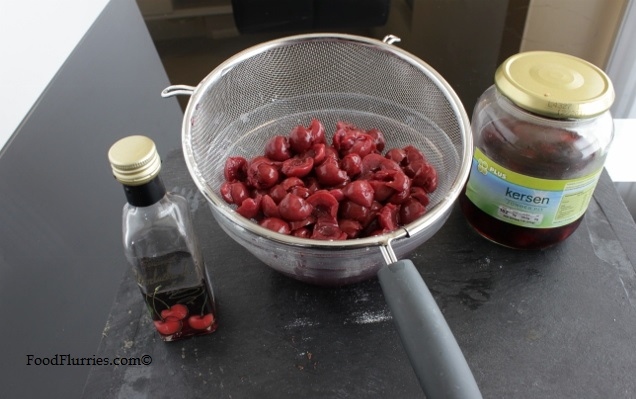
2. Using a pastry brush, dab on some cherry syrup that you saved from the jar of dark cherries. Use generously to ensure the cake soaks up all that cherry flavour.

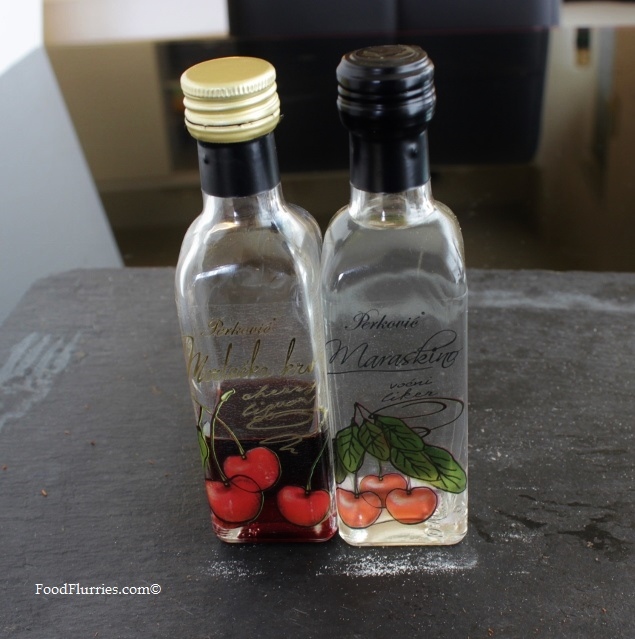
3. The cherry syrup also contains some alcohol which I added to the cherries a good week earlier. Traditionally kirsch is added but I didn’t have any so I used distilled cherry rakija which I bought when I was in Croatia. It has a sweet brandy-like flavour and works well in this recipe.
4. Now pipe a dam around the cake. I used two rings because I wanted to add height to my cake.
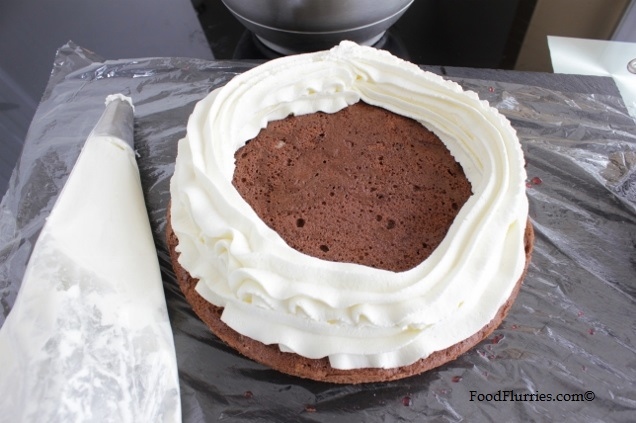
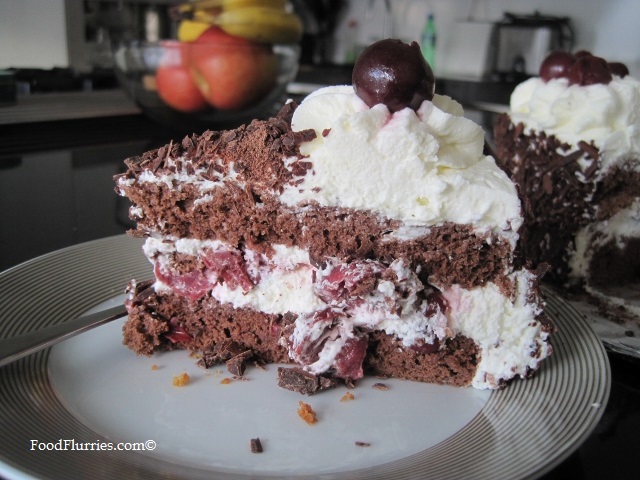
5. Fill the center with more whipped cream and cover the the surface with cherries. I am using jarred dark cherries that come with syrup. All my cherries were cut in half just to make sure they like flat but this step is optional.
6. Now cover the cherries with another thin layer of whipped cream. In total I used a total of 600 mls of cream + 100 g powdered sugar to make the crème Chantilly.

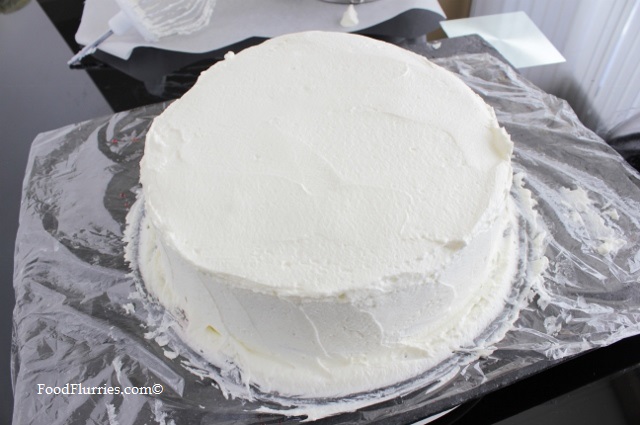
7. Now place the top layer of cake on top and press down gently. Smoothe the sides out and then cover the rest of the cake with cream. I didn’t soak the top layer with cherry juice because I was worried it would not hold up to the weight of the cream … but in hind sight I think I should have. After we cut into the cake we all felt that the sponge was lacking in cherry flavour.
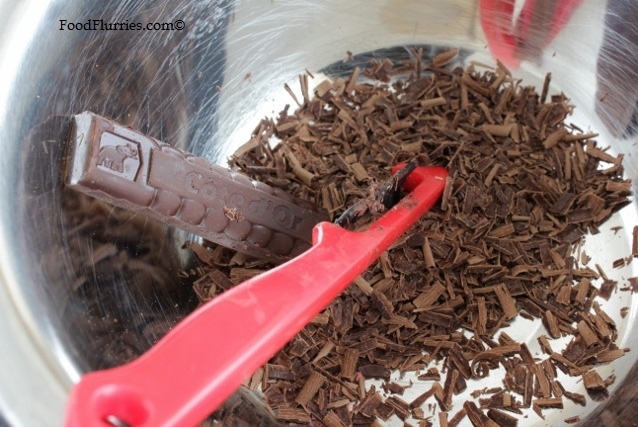
8. Now quickly cover the sides with chocolate shavings. I did think about covering the sides with chocolate rice, but I was vetoed by R. He said it should be REAL chocolate and not chocolate-flavoured sugar sprinkles. So I spent a considerable amount of time and energy shaving an entire chocolate bar with a potato peeler. My wrists hurt after.
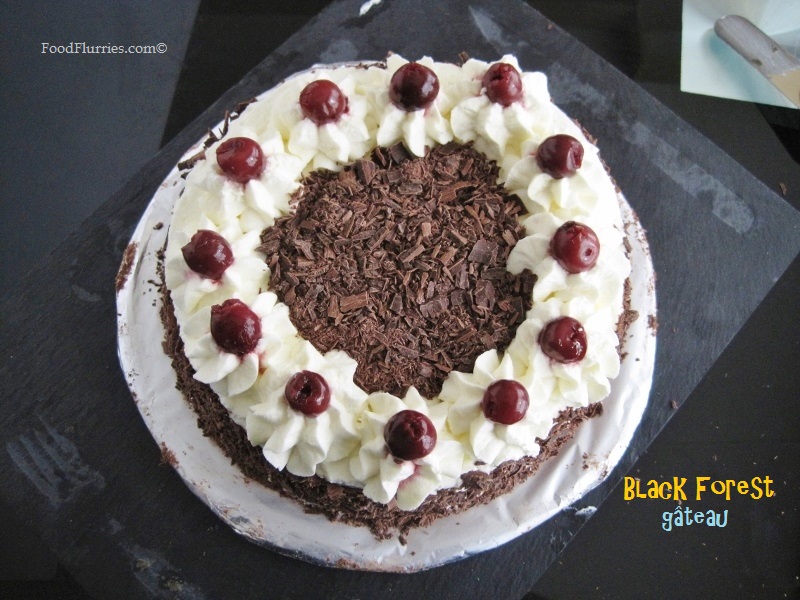
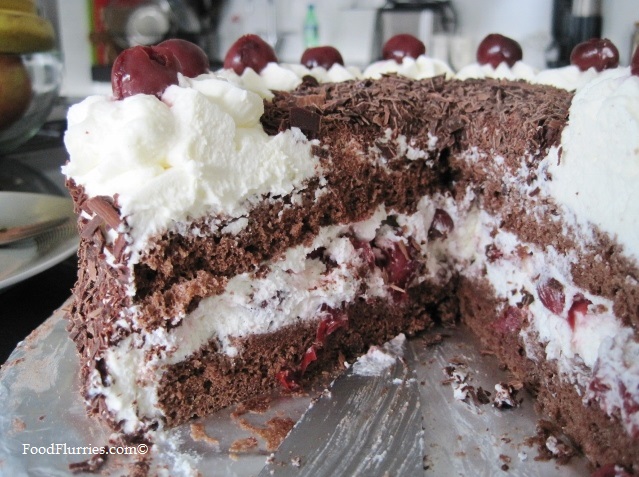
9. Finish off by piping rosettes on top and place a cherry on each puff of cream. Work quickly once you start covering your cake because the cream will tend to melt and threaten to collapse your creation. Didn’t have Maraschino cherries so I just used the jarred cherries. Not many people like the ruby red ones anyway …. although I do. It’s the best part of any tropical cocktail.
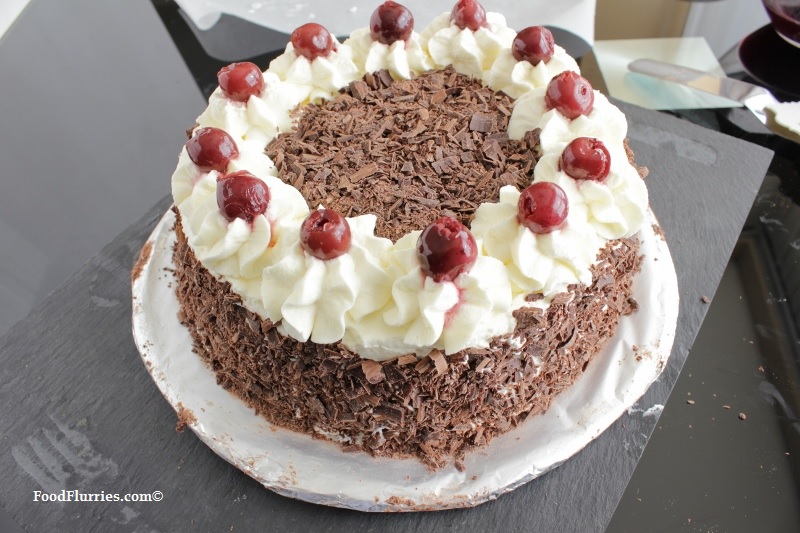
And there you have it … my first ever Black Forest cake. Not perfect but delicious just the same. Feedback I received from my “tasters” was that the sponge could have been slightly deeper in flavour (i.e: more cocoa) and that I needed to flavour the sponge more generously with the cherry syrup. But overall they liked my cake even tho R. said he wouldn’t consider calling it an authentic Black Forest cake (humph!!). After all that he still helped himself to another slice.
Was I happy with my cake? Yes. Room for improvement? Definitely. Working with fresh cream isn’t as easy as I thought coz it is so sensitive to temperature changes, and I don’t work fast enough. A bit of a pain in the bum, but the results are worth it.
~ Enjoy! ~

What people are saying…