

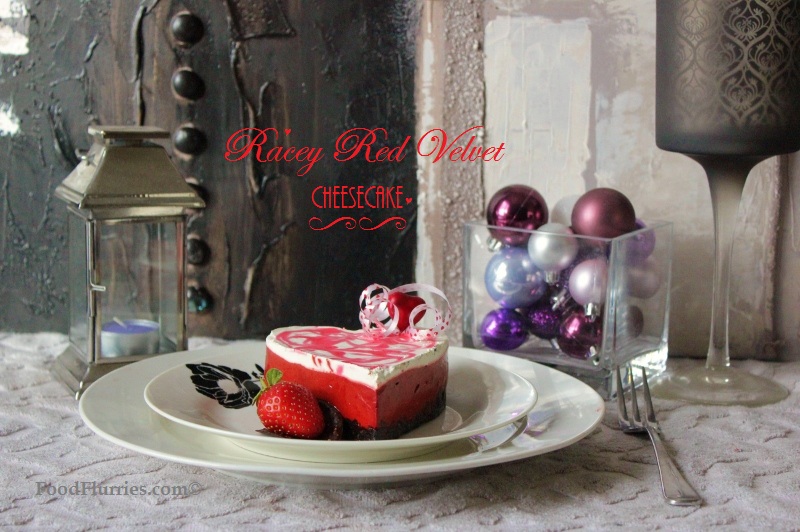
Hello again folks. Today we are moving right along, hot on the heels of my previous Valentine’s day post ~ the Raspberry Mousse & Bittersweet Chocolate cakes ~ by featuring a stunning Red Velvet no-bake cheesecake.
This cheesecake is simply bursting with rich chocolatey flavour, accompanied by a velvety smooth cream cheese texture. And the colour … well it’s what you’d expect when you come across anything Red Velvet. It seems to be the hottest flavour choice out there in cakeland and it’s showing no signs of stopping just yet. Personally, I don’t get it … it’s just like regular chocolate cake with a ton of added red food dye. But you certainly can’t beat the vibrant colour on this one, can you? It just cannot be beat … hence why I chose this idea as inspiration for my Valentine’s day cheesecake.
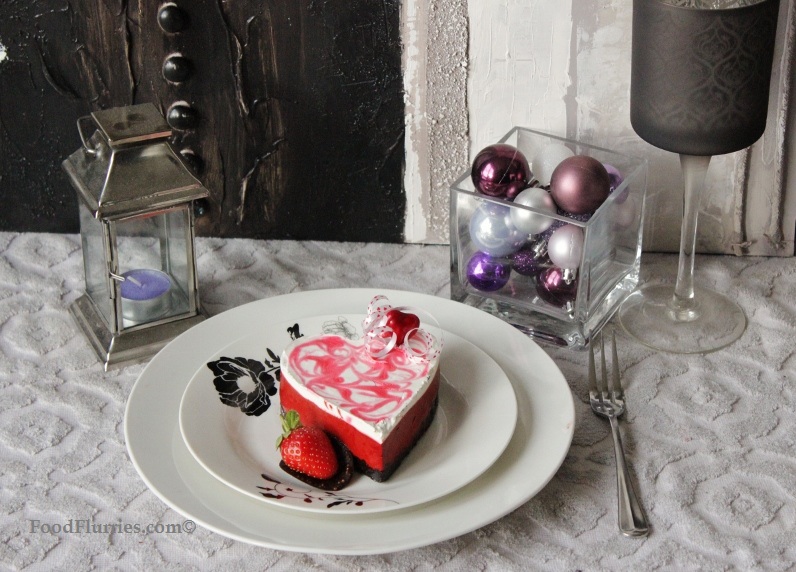
I have been thinking about this for a good long while now, way back when I was on a no-bake cheesecake frenzy (remember that one?). I knew I’d have to come up with something for Valentine’s day eventually, and almost immediately the image of a blood red cheesecake just sprang to mind. It was an obvious choice. I had my heart set on creating this racey red number … and so that’s just what I did today.
First, some equipment preparation. Grab yourself a cake ring/ mould, in this case, a heart-shaped one. Lubricate the inner surface with some cooking spray and place it on a piece of wax paper or tin foil. Then place everything onto a plate or cookie sheet. My cake ring measures 10 cm x 4 cm, and it’s the perfect size for sharing at the end of a romantic home-cooked Valentine’s day dinner. The recipe I am about to give makes enough to fill three of these … but if you are making more for a dinner party, feel free to double or triple the recipe to fill a regular sized cake tin.
Once that is done and dusted, move on to the biscuit base. Standard procedure really. Crushed chocolate biscuits + melted butter. Give it a stir and then press firmly onto the bottom of the cake ring, which is kind of ironic seeing as which it does not have a bottom (that’s what the wax paper is there for). Smooth it out, being careful not to get any up the sides of the mould. If you do, then carefully wipe off any streaks with a damp paper towel. Shove everything in the freezer for 20 mins.
Next, get started on the red velvet filling, which is pretty straight forward as well. Bloom a sheet of gelatine in cold water and set it aside. Now place cream cheese, sugar, cold cream, condensed milk, cocoa powder and red food dye into a mixing bowl. Whip it up until mixture is homogeneous and slightly thickened. Don’t over do it or the cream will split and turn into buttery lumps. Aim for a nice smooth finish, almost like chocolate mousse.
Place some extra cream in a small bowl and zap it in the microwave for 15 seconds. Remove and dissolve the gelatine sheet in this hot cream. Give it a good stir and add this to the cream cheese mixture. Whip everything together immediately or the gelatine will start congealing. Taste for sugar and chocolatey-ness, then pour this mixture into the cake ring on top of the now-frozen biscuit base. Work fast or the cheese mixture will start to set and will be too thick to pour. If this happens, mix in some more liquid cream to thin it out. Give the mould a jiggle to settle the mixture and then return in to the freezer.
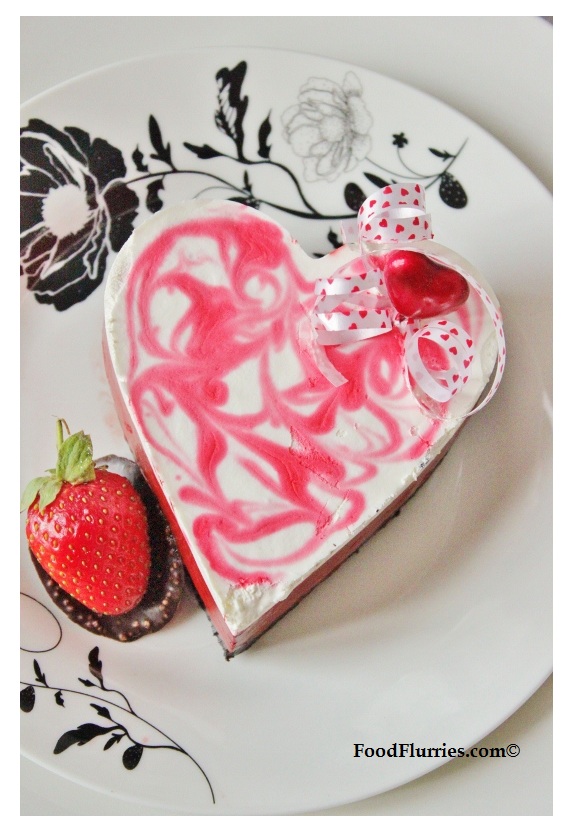
After about 20 more minutes it is time for the final layer of snow white topping. Traditionally, a red velvet cake is always topped with a white cream cheese frosting, so that’s just what you’ll do. All you need to do is whip up some more cream cheese, cold cream, sugar and condensed milk. Heat up some more cream in the microwave, just like you did before, and dissolve another sheet of gelatine. Pour gelatine mixture into cream cheese and whip to a smooth consistency. Remove the cake mould from the freezer and immediately pour this white layer over the top of the frozen red velvet, filling right up to the very top. Jiggle the mould and pop any unsightly air bubbles with a toothpick.
Working quickly once again before the cheese mixture sets, drop little dots of red food dye or red piping gel on the surface. Then, using a skewer, draw through these dots to make swirling patterns. Don’t over do it or you’ll just turn everything pink and the visual effect will be lost. Return the cheesecake to the freezer for 1 hour and then transfer it to the fridge until ready for service.
Ingredients:
Biscuit base
- 150 g chocolate biscuits
- 80g melted butter
Red Velvet
- 250 g full-fat cream cheese
- 4 tbsp fine granulated white sugar
- 2 tbsp condensed milk
- 120 mls cup cold whipping cream
- 4 tbsp cocoa powder
- 2 sheets gelatine
- 50 mls whipping cream (extra to melt gelatine)
- 1 tbsp red food paste
White Cream Cheese Topping
- 120 g cream cheese
- 2 tbsp fine white sugar
- 1 tbsp condensed milk
- 1 gelatine sheet
- 30 mls cream (extra for melting the gelatine)
Decorations & Garnish
- Liquid red food dye or red piping gel
- Strawberries
- Chocolate tuilles
- Wafers
- Chocolate cigars
So that, my dear friends, is how I made a dream become a reality. It was really fun to do and I felt a great sense of pride, following my vision which started out as a mere fancy in my head, to actually producing it on a plate. Visually I think this dessert is very appealing … the flavour, I can vouch most confidently, is out of this world yummy! So do give it a whirl and let me know how you get on.
Until next time then … good luck on your culinary adventures!
~ Enjoy! ~

2 comments
david william
May 23, 2013 at 1:07 pm (UTC 1) Link to this comment
i want to make this recipe for the round regular size cheesecake tin , should i double or triple the recipe , and the other thing *_* if i double or triple the recipe is that include the coca powder. and thanks
bubviv
May 23, 2013 at 2:09 pm (UTC 1) Link to this comment
Hello David. When I make regular sized cheesecakes in an 8 inch round tin I generally use 400 g cream cheese. I don’t know how big a cheesecake you are intending to make. Good news is this recipe is very flexible. When u double the recipe that includes the cocoa powder as well. Keep tasting as you go along as you might like to adjust the sweetness to your preference.